Claude Code Diff Viewer: Review Changes Before You Accept
How to see a diff of what Claude Code or Codex changed before you accept it, including on Windows and WSL. Terminal diffs, the VS Code extension, and visual per-file review across code, docs, diagrams, and mockups.
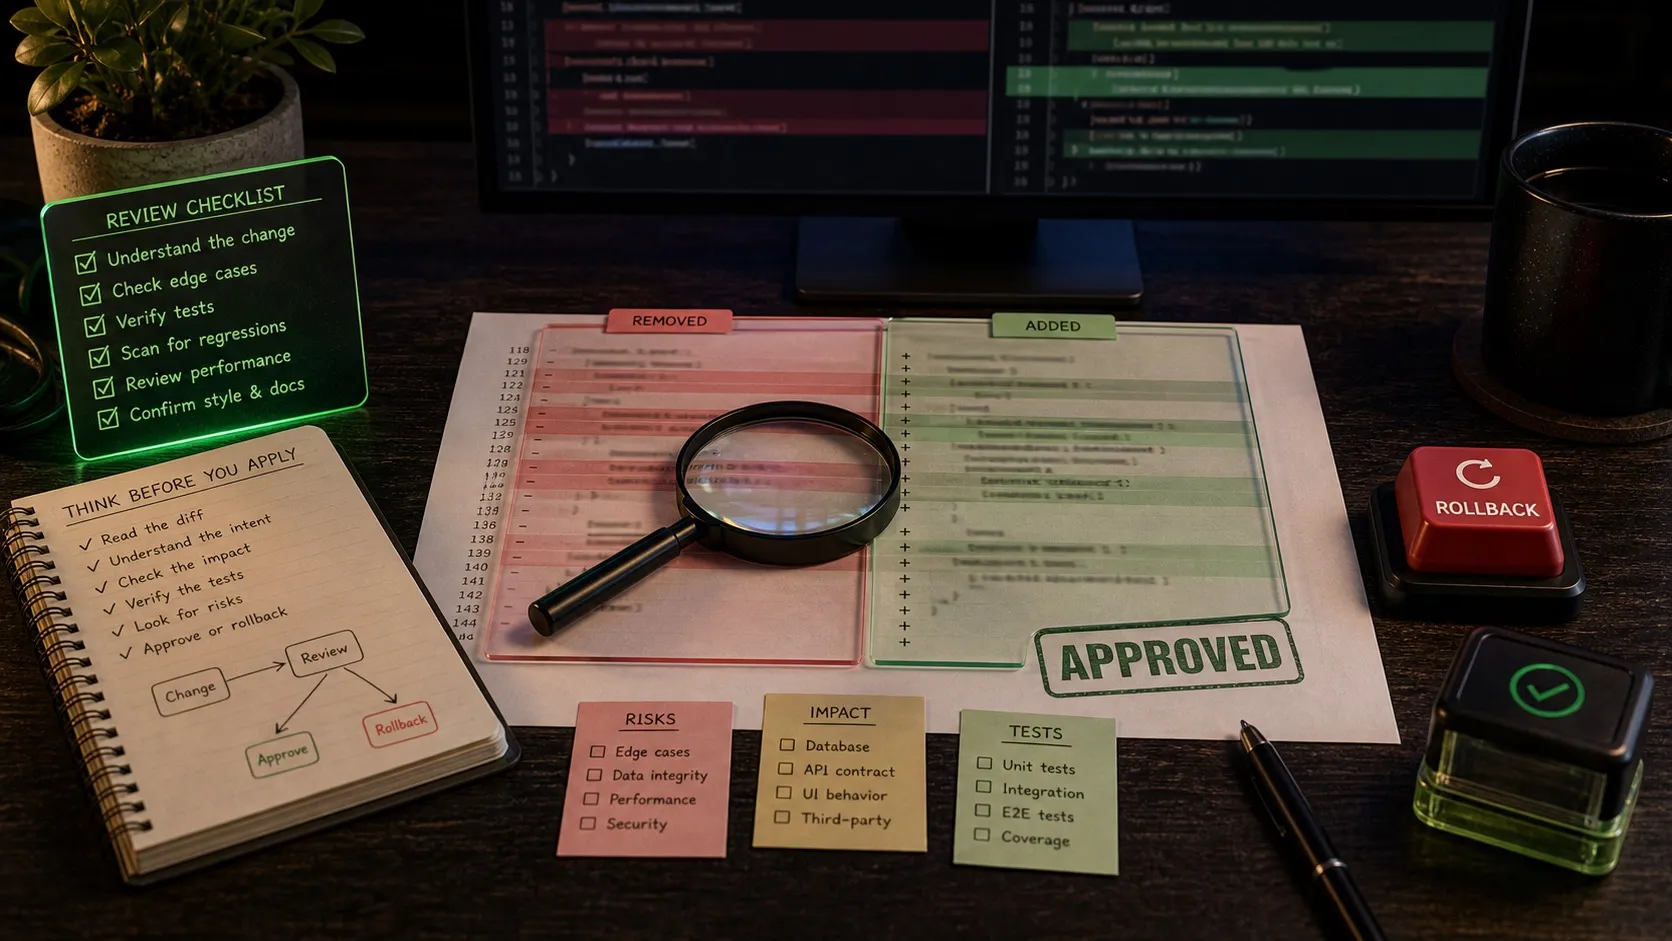
If you are running Claude Code or Codex and want to see what changed before you accept it, there are three answers depending on how much of the session you need to look at.
- One edit at a time. Claude Code already does this. In the terminal it prints each proposed edit and waits for permission. In VS Code with the Claude Code extension, Manual mode shows a side-by-side comparison of the original and the proposed change, and you can edit the proposal in the diff view before accepting.
- The whole session, code only. VS Code’s diff viewer against your git working tree, or
git diffwith a pager. On WSL, VS Code with the WSL remote extension reaches a Linux-side repository directly. - The whole session, including everything that is not code. A workspace with a per-session changed-files list, where each file renders in its own editor and the diff is drawn on the rendered artifact rather than on the raw text.
The Windows and WSL specifics are in their own section below, because where the repository lives changes which of these actually work.
Why git diff Stops Working at Agent Scale
The shape of a commit changed. A person working on a feature tends to touch a handful of files and stop; an agent given the same feature will also update the tests, adjust configuration, rewrite the affected documentation, and sometimes edit diagrams or mockups that were already in the project. The count is whatever the task implies rather than whatever a person had patience for.
Running git diff after that produces hundreds of lines of red and green scrolling past. File boundaries blur, and you lose track of which file you are in. The unified diff format was designed for small, human-sized patches, and it buckles under agent-scale changes.
Volume is only half of it. The other half is format diversity. One session might modify TypeScript source, a markdown spec, an Excalidraw diagram, a data model definition, and an HTML mockup. A terminal diff treats all of those as text, and for three of the five that is close to useless. Reading the raw JSON of an Excalidraw file tells you almost nothing about what moved on the canvas.
What Claude Code Already Gives You
Worth covering first, because for a lot of people it is enough and it costs nothing to turn on.
In the terminal, Claude Code’s default permission mode shows each proposed edit and asks before writing it. If you are not seeing that, you are probably running in a mode that auto-accepts edits, and switching back is the whole fix.
In VS Code, the Claude Code extension gives you a proper diff view. Anthropic’s IDE integration docs describe Manual mode as showing “a side-by-side comparison of the original and proposed changes” before asking permission, with accept, reject, or redirect as your options. Editing the proposed content directly in the diff view is supported, and Claude is told you modified it so it does not assume the file matches its original proposal. When the extension is running, the CLI opens diffs in VS Code’s native diff viewer too.
Where both stop: they work edit by edit, while the agent is running. Neither answers “the session finished twenty minutes ago and touched 22 files, what am I looking at?” For that you need something that keeps a record of the session and the files it changed.
Reviewing Claude Code Diffs on Windows and WSL
This is the most-asked version of the question and the least-answered, so here it is in full.
The thing that decides your options is where the repository lives, not which tool you install.
If the repository is on the Windows filesystem
Say the repo is at C:\dev\project. Your WSL shell reaches it at /mnt/c/dev/project, and any native Windows application opens it directly at full speed.
This is the arrangement to prefer if you want a Windows GUI doing the reviewing. You get:
- Any native Windows diff tool or git client, working at native speed.
- A native Windows workspace such as Nimbalyst, with per-session changed-file lists and per-file accept or revert.
- VS Code on the Windows side, without the remote extension.
The cost is that file I/O from inside WSL is slower against /mnt/c than against the Linux filesystem, which matters for large builds and test runs.
If the repository is inside the WSL filesystem
Say it is at ~/project inside Ubuntu. Windows reaches it at the UNC path \\wsl.localhost\Ubuntu\home\<user>\project, using the exact distribution name from wsl -l -v.
It works, and Windows applications reading Linux files that way go through a cross-filesystem translation layer, so it is noticeably slower than a native Windows path. It is fine for occasional browsing and poor for a tool doing heavy file watching. If \\wsl.localhost is not reachable at all, that is a known Windows networking-provider registry issue rather than anything to do with your agent.
For a WSL-side repository, the path of least resistance is VS Code with the WSL remote extension. The extension runs a server inside the distribution, so the editor, the diff viewer, and the Claude Code extension all see the Linux filesystem natively, and no UNC translation is involved. For code files, that combination is genuinely good, and if code is all your sessions change, it is the answer.
Which to choose
- Sessions that only touch code, repo already on the WSL side: VS Code with the WSL remote extension plus the Claude Code extension. Nothing else needed.
- Sessions that also touch docs, diagrams, mockups, or data models: move the repo to the Windows filesystem and use a native Windows workspace, so the non-code files render instead of arriving as JSON.
- You want both a Linux-native build and a Windows GUI: keep the repo on the Windows side and accept the slower
/mnt/cI/O, or run everything on the Linux side and review inside WSL.
Nimbalyst runs natively on Windows and also on Linux, so a third arrangement is to keep the repo and the agents on the Linux side and run the workspace there too. On Windows it detects WSL as a terminal profile and translates Windows paths to WSL paths, so the built-in terminal opens in the right directory on the Linux side without converting the path by hand.
Reviewing the Files That Are Not Code
The gap that no text diff tool closes is the files that were never text to begin with.
When an agent edits a mockup, what you want is the before and after mockup, or the change highlighted on the rendered layout. When it modifies a diagram, you want the new boxes and arrows drawn on the original canvas. When it rewrites a markdown spec, you want the formatted text with additions and deletions marked, rather than a wall of lines prefixed with plus and minus.
Nimbalyst renders the diff inline in whichever editor owns that file type, drawing deletions in red and additions in green on the rendered artifact rather than on the raw text.
Code files get inline red and green diffs in the Monaco editor, the same engine VS Code uses, with full syntax highlighting.
Markdown documents show formatted diffs in the rich text editor, so you see headings, bold, and lists with the changes marked rather than parsing +## New Section in a terminal.
Mockups render the visual diff on the mockup itself, so a shifted button, a new section, or a changed colour is visible without reading any HTML.
Diagrams show changes on the Excalidraw canvas, so a new node, a moved arrow, or a renamed label appears in the spatial context of the diagram rather than buried in JSON.
Data models and spreadsheets follow the same pattern. Every editor type renders its own diffs.
Seeing a Whole Session at Once
Per-file diffs solve “how do I review this file”. Running several agents raises a second question: what changed across everything, and what have I already looked at?
The Changes tab lists every file the current session modified in one place. Click any file to jump to its visual diff, with no hunting through git status and no opening files one at a time.
File-to-session linking connects files back to the session that touched them. When you open a file and find something unexpected, you can trace it to the exact session and conversation that produced it, which is the audit trail terminal workflows lack entirely.
File tree indicators mark agent-modified files in the sidebar, so you can see which files have pending changes without opening anything.
Session review state tracks whether you have been through each session’s output, so nothing slips past while you are juggling parallel agents.
The session kanban shows all your sessions by status, so when agents produce changes faster than you review them, you can see where the backlog is.
A Review Routine That Holds Up
A practical order for reviewing an agent’s work, avoiding both the review-every-line trap and the skim-and-hope trap.
1. Start with the full list of changed files. Get the scope before opening anything. Note how many files were touched and which categories they fall into: code, docs, visual artifacts.
2. Review visual artifacts first. Mockups, diagrams, and data models are the fastest to review visually and the hardest to review as text. Seconds each when you can see the rendered output.
3. Review documentation and specs next. Formatted markdown diffs scan quickly. Check that docs match the code changes and that the agent did not introduce descriptions that are no longer true.
4. Review code files last. These need the most attention, and by now you understand what the agent was trying to do, so you are checking implementation correctness rather than reconstructing intent from the code.
5. Accept, revert, or edit per file. For each file, keep the changes, revert to the previous version, or edit the output by hand. Per-file decisions avoid staging partial commits and cherry-picking hunks.
Four habits make the whole loop cheaper:
Tight prompts produce reviewable diffs. If the agent touched 40 files when you expected 5, the prompt was too broad.
Review in the rendered format, not the source format. If a file is meant to be seen as a diagram, review the diagram. Source-level diffs are the fallback.
Use session context to understand intent. When a change looks odd, the agent’s reasoning is in the transcript. File-to-session linking makes that one click rather than a forensic exercise.
Do not review everything at the same depth. Test files mirroring source changes are lower risk. Generated configuration is lower risk. Novel business logic is higher risk. This matters more when running parallel agents, where the volume is higher again.
Review sooner rather than later. The longer you wait, the more context you lose.
Frequently Asked Questions
Does Claude Code have a built-in diff viewer?
Yes, two of them. In the terminal, Claude Code prints the proposed edit and asks for permission before writing it. In VS Code with the Claude Code extension, Manual mode shows a side-by-side comparison of the original and the proposed change and asks whether to accept, reject, or redirect, and you can edit the proposed content in the diff view before accepting. The CLI also opens diffs in VS Code’s native diff viewer when the extension is running. What neither gives you is a single view of everything a whole session changed after the fact.
How do I review Claude Code changes on Windows or WSL?
Where the repository lives decides your options. If it sits on the Windows filesystem, any native Windows diff tool opens the same folder your WSL shell reaches through /mnt/c, at full speed. If it lives inside the WSL filesystem, Windows reaches it at \\wsl.localhost\<Distro>\home\<user>\project, which works but goes through a cross-filesystem translation layer and is slower. For a repo on the WSL side, VS Code with the WSL remote extension is the simplest answer; for a Windows-side repo, a native Windows workspace with per-file accept and revert is faster.
How do I see a diff before accepting Claude Code changes?
In the terminal, run Claude Code in its default permission mode so it shows each edit and waits for approval instead of writing straight through. In VS Code, install the Claude Code extension and use Manual mode for a side-by-side diff per edit. For a whole session at once, use a workspace with a per-session changed-files list, such as Nimbalyst, which shows every file that session touched with an inline red and green diff and a per-file accept or revert.
What is the best diff viewer for AI agent changes?
For code files alone, VS Code’s diff viewer is hard to beat and the Claude Code extension plugs straight into it. It falls short when a session also changes diagrams, mockups, data models, or long markdown specs, because those show up as raw JSON or as a wall of plus and minus lines. A workspace that renders each file type in its own editor, with the diff drawn on the rendered artifact, covers the whole session rather than the code half of it.
How do I undo Claude Code changes I already accepted?
For uncommitted work, git restore <file> resets one tracked file to its last committed state, and git restore . does the same for every tracked file. Neither touches files the agent newly created: those are untracked, and clearing them needs git clean or a manual delete. All of this discards changes permanently, so read git status first. For committed work, git revert <commit> adds a commit that undoes it, which is the safe option on a branch anyone else has pulled.
The arrangement that makes all of this easier is one git worktree and branch per session, so unwanted work stays on its own unmerged branch and never has to be untangled out of your main working tree. Deleting that branch is not an undo in itself: it discards the commits on it, and it does nothing about anything already merged.
Why is git diff hard to read after an AI agent session?
The unified diff format was built for small human-sized patches. A person working on a feature tends to touch a handful of files and stop; an agent given the same feature also updates the tests, adjusts configuration, rewrites the affected documentation, and sometimes edits diagrams or mockups, so a session’s change set is whatever the task implies. Scrolling hundreds of lines of red and green in a terminal loses the file boundaries, and any file that is not source code reads as meaningless raw text.
Can I accept some of an agent’s changes and reject others?
Yes, at two levels. Per edit, both the terminal prompt and the VS Code extension’s Manual mode let you approve or reject each proposed change as it happens. Per file, after the session has finished, a workspace with a session changed-files list lets you keep some files and revert others without staging partial commits or cherry-picking hunks. Git can do it too, with git restore on the files you do not want.
How do you review a diagram or mockup an agent changed?
Not as text, if you can avoid it. An Excalidraw diagram is a JSON file and a mockup is HTML, so a text diff tells you almost nothing about what moved on the canvas or shifted in the layout. Review those in an editor that renders the file and draws the change on the rendered artifact, so a new node, a moved arrow, or a shifted button is visible where you would actually notice it.
Where the Review Layer Sits
As agents produce more of the code and more of the surrounding artifacts, the work that remains is maintaining quality, coherence, and intent across all of it, which needs review tools that match the breadth and speed of the agent itself. Terminal diffs work poorly for a session that changes many files across code, prose, and visual formats. Reviewing that output well means seeing it rendered, across every format, connected back to the session that produced the changes.
Nimbalyst is free for individuals and runs on macOS, Windows, Linux, and iOS. It is MIT licensed for individual-use features. Download it at nimbalyst.com.
Related Reading
- How to manage and review multiple agent sessions: the full parallel-session method this fits into.
- Best Claude Code session manager: the tools, compared by platform.
- Best git worktree tools for AI coding: isolation so two sessions cannot overwrite each other.
- Coding with AI agents: best practices: the wider workflow.
Related posts
-
Best AI Agent Orchestration Platforms 2026: Coding vs Workflow
AI agent orchestration means two different products. Compare control planes for your own coding agents (Nimbalyst, Orca, Emdash, Superset, Conductor, Warp) against workflow frameworks like LangGraph and CrewAI.
-
What Is an Agentic Development Environment (ADE)?
An agentic development environment is the workspace you use to direct several coding agents at once. Definition, origins, how an ADE differs from an IDE and a CLI agent, and criteria for evaluating one.
-
How to Manage and Review Multiple Agent Sessions
A working method for running several Claude Code and Codex sessions at once: seeing which ones are waiting on you, reading what each agent did and which commands it ran, and reviewing the diff before you accept it.